Just because it's very cold outside doesn't mean you can't decorate your environment with some frosty ice lanterns!
You can shape ice with special lantern molds (Lee Valley sells those).
You could also try plastic yogurt tubs of different sizes stacked inside one another so you get a wall of ice with a hollow centre. Make a bunch! Lee Valley says it can take 24 hours to freeze a lantern form from one of their molds, so you need to plan ahead.

Use a candle for light. It'll melt the inner walls a bit, but if it's really cold the shape should hold up quite well. Avoid electrical light unless you know the connections are waterproof, ideally something made for outdoor use.
Snow lanterns
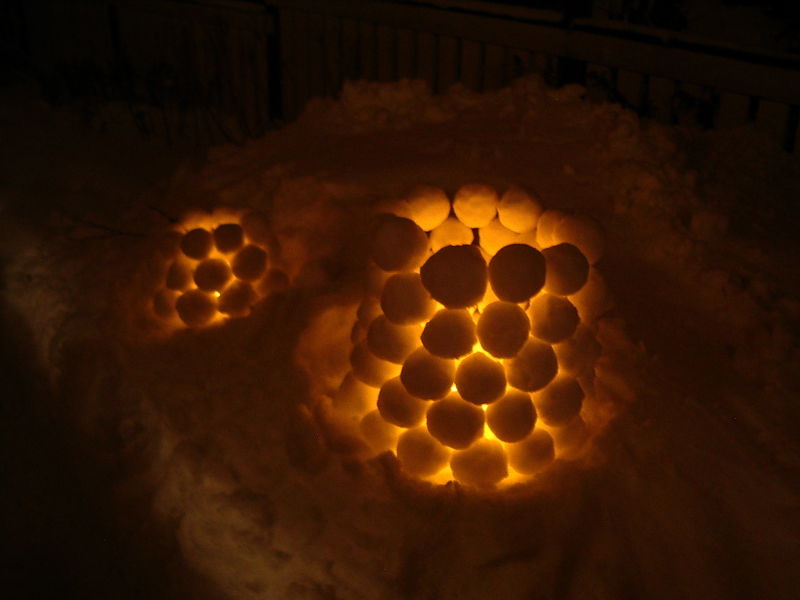
Image courtesy of Wikimedia Commons
Working with snow is a little easier - this example is simply snowballs stacked into a pleasing array. You can pile snow into bigger shapes and carve them out like a pumpkin. You may notice that snow is much more opaque than ice, so you need to be able to make thin walls of snow or openings to allow the light through.
As you might imagine, packing snow is best for this. If it's powdery, you might be better off freezing some ice blocks instead, since it will be cold.
Sturdy waterproof insulated gloves, an old spoon and a garden trowel are good basic tools for small-scale projects. Sets of beach toys meant for building sand castles might do the trick too. Raid the kids' toybox (or get them involved) and see what works for you!
Again, candles should work well. Be careful not to allow the heat to contact an upper surface directly, like an overhang or "roof" on the structure. Melt water may put your candle out and weakening walls may cause the structure to collapse.