home | paper | fabric | plastic | ice | metal | forum | links | contact us

Metal

Pros and cons

Metal has been used for lanterns for centuries.

Pros

Cons

However, metal has a few disadvantages for a portable lantern maker:

Using metal parts in lanterns

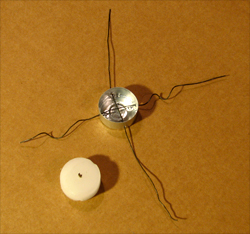
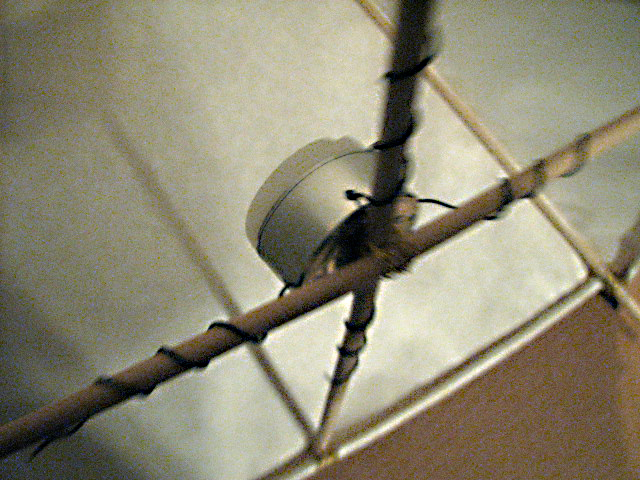
Iit's easy to use some metal in lanterns. Tea lights come in aluminum cups, which can be easily pierced with an awl or nail and strung with wire to attach on the frame of a pyramid lantern as in the picture. In this method, you will eventually get melted wax leaking out of the holes, so don't do it if you will be carrying it somewhere where wax splashes will be an issue.

candle cup and wirecandle cup

Here is an example of a tin can lantern carved with a Dremel tool.


Tin Can Lantern

Materials:

What to do:

  1. Draw your design on the can with the marker. Keep it simple. You can use a stencil if you are not comfortable drawing freehand. You can also draw or photocopy a design on a piece of paper and tape it to the can. You can nail right through the paper. Be aware that tape won't stick to a frosty surface so you might want to do that before putting the can in the freezer. You can put your design on one side or all around the can. Random holes give a nice "starry night" effect if you don't want to use a specific design.
  2. Make sure you leave a border of about an inch at the top and the bottom. That keeps the top from bending too easily, and at the bottom it keeps melted candle wax from leaking out of the holes.
  3. Fill the cans with water. Stick them in the freezer overnight or until solid. You can skip this part but you risk a few dents in your cans. ( Lantern Lab note: we found that the ice tended to make the bottom of the can bulge out, much to our surprise. We wonder if this may be avoided by freezing the ice in stages so the top doesn't freeze first and cause the expanding ice contained underneath to expand downward and bend the can! Experiments are under way as we speak. Results will be published in Lantern Lab.)
  4. Remove the can and lay it on its side on the towel. You can rest it on a baking tray or other pan to catch leaking water once the ice starts to melt.
  5. Choose a nail of the appropriate size, and rest the tip on the spot you wish to pierce. If you froze your can, wear the gloves to hold it in place.
  6. Start at the top of the design and, hitting the nail gently but firmly with the hammer, punch holes along the lines of the design. If you can control it, a heavier household hammer is better than a tiny little tack hammer since you don't have to hit as hard to exert the right amount of force.
  7. Pull the nail completely out of the can after making each hole. Space the holes approximately half an inch apart, closer if the holes are tiny.
  8. If the ice starts to melt too much so that it no longer supports the shape of the can, put the can back in the freezer to refreeze the ice. By working from the top down it is possible to add more water (and therefore more ice) to the can without having it leak out of holes closer to the bottom.
  9. When all your holes are punched, dump any remaining ice in the sink. Let the can air dry - the inner edges of the holes are sharp and will shred your towel and/or hand if you stick it inside to dry the can!
  10. Set a votive candle or tea light candle into the can. Put a handful of sand or gravel inside to keep the candle from slipping, use a small square of double-sided carpet tape to stick down the aluminum candle cup, or drive a small brad into the bottom of the can so it makes a little spike inside to stick a longer candle on.
  11. Use a long fireplace match or a long-necked barbeque lighter to light the candle to avoid burning your hand. Tilt the lantern as much as you can to light the candle.
home | paper | fabric | plastic | ice | metal | forum | links | contact us